Are you tired of using the same old default HUD in Free Fire? Look no further. In 2023, custom HUDs have become more popular than ever, and we’ve compiled a list of the best free options to enhance your gaming experience.
From sleek and minimalist designs to fully customized layouts, these custom HUDs will give you an edge on the battlefield.
In this article, we will be showcasing the top free custom HUDs for Free Fire in 2023. These provide a visually appealing experience and offer a variety of features, such as improved mini-map displays, enhanced aim assist, and more.
Custom HUD tailored for aggressive playstyle and maximizing K/D ratio in Free Fire
When customizing HUD, players should prioritize adjusting the size and positioning of vital buttons. The next section will provide optimal HUD configurations for different types of players.
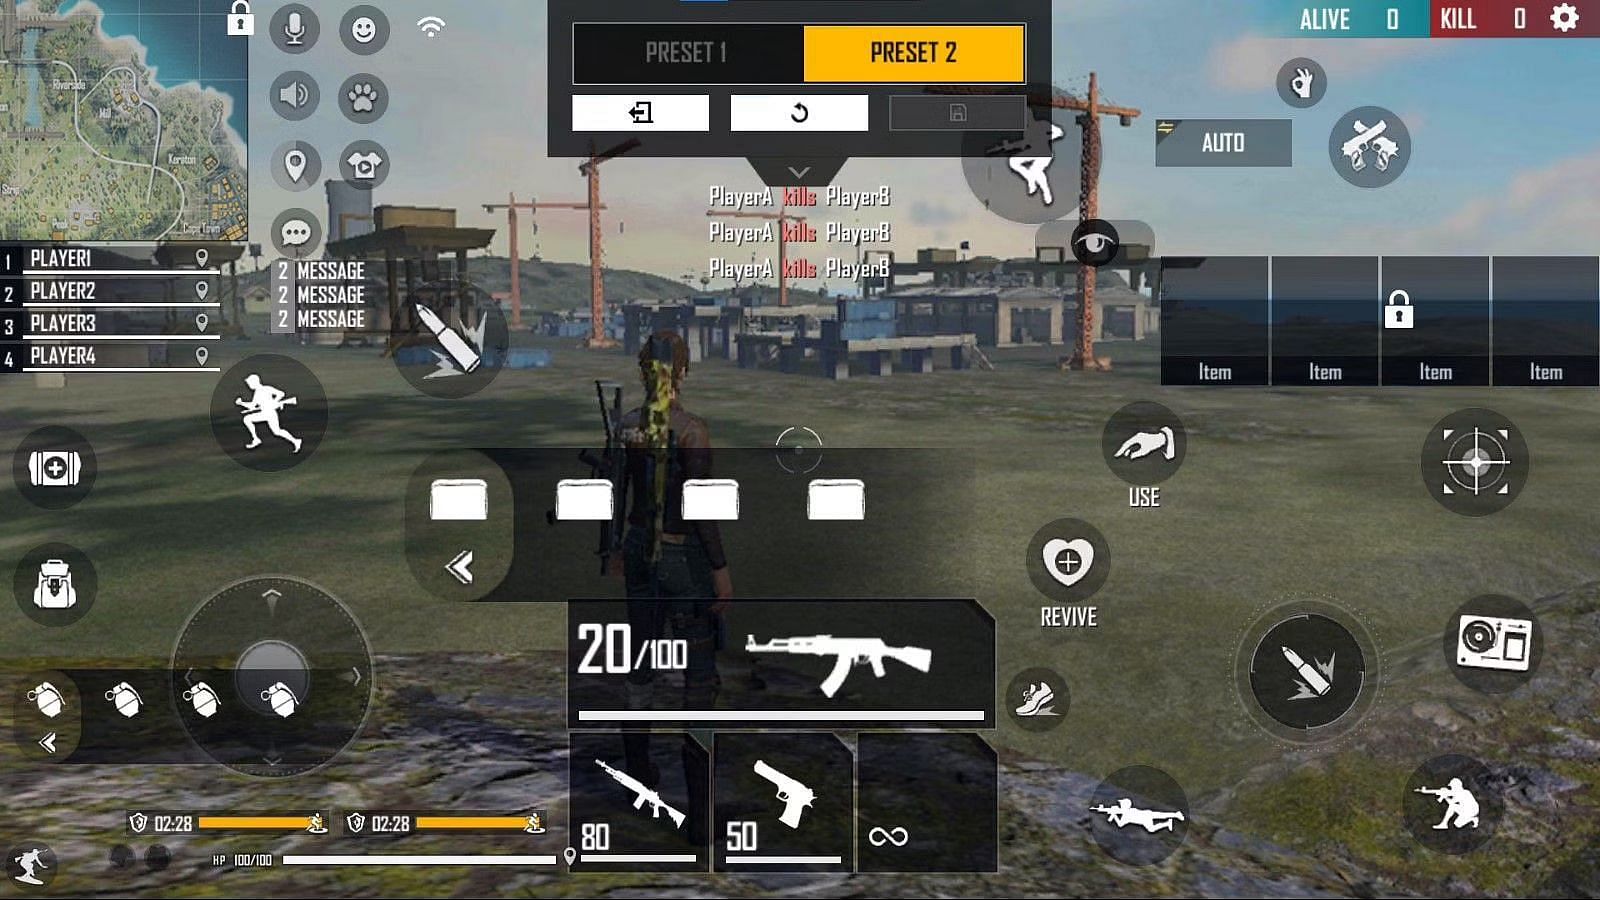
1) Two-finger custom HUD
The Fire button is crucial for headshot accuracy. It is recommended to keep it at a lower height and smaller size, between 30 and 40, to make it easier to drag. This is particularly important for players using low-end devices, as these often have lower sensitivity.
To quickly access suitable weapons during combat, it is recommended to keep the gun section larger. Additionally, it is important to properly adjust the active skill option as demonstrated in the image below.

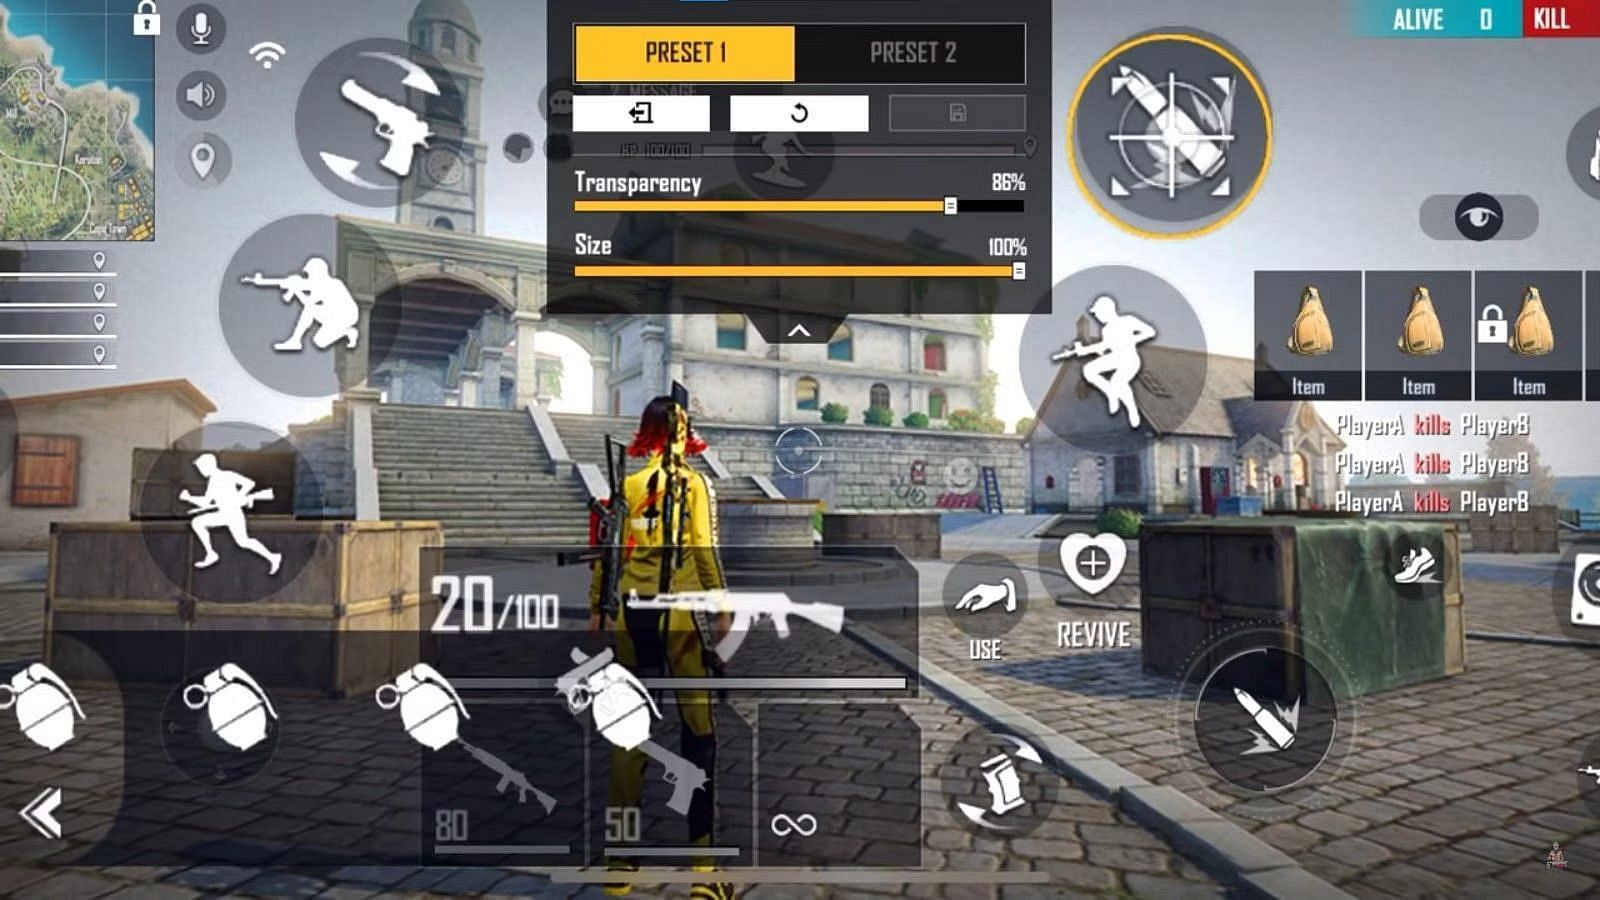
2) Three-finger custom HUD
When using a three-finger control scheme, the Jump button, Weapon section, Gloo Wall button, and Fire button are the key elements to focus on.
The Jump button should be positioned at the top, as illustrated in the accompanying image, and operated using the right-hand forefinger.

For optimal firearm selection, the Weapon section should be located in the middle-bottom portion of the screen, easily accessible by the right-hand thumb. The position and size of the Fire and Gloo Wall buttons can be retained as outlined in the previous two-finger HUD configuration.
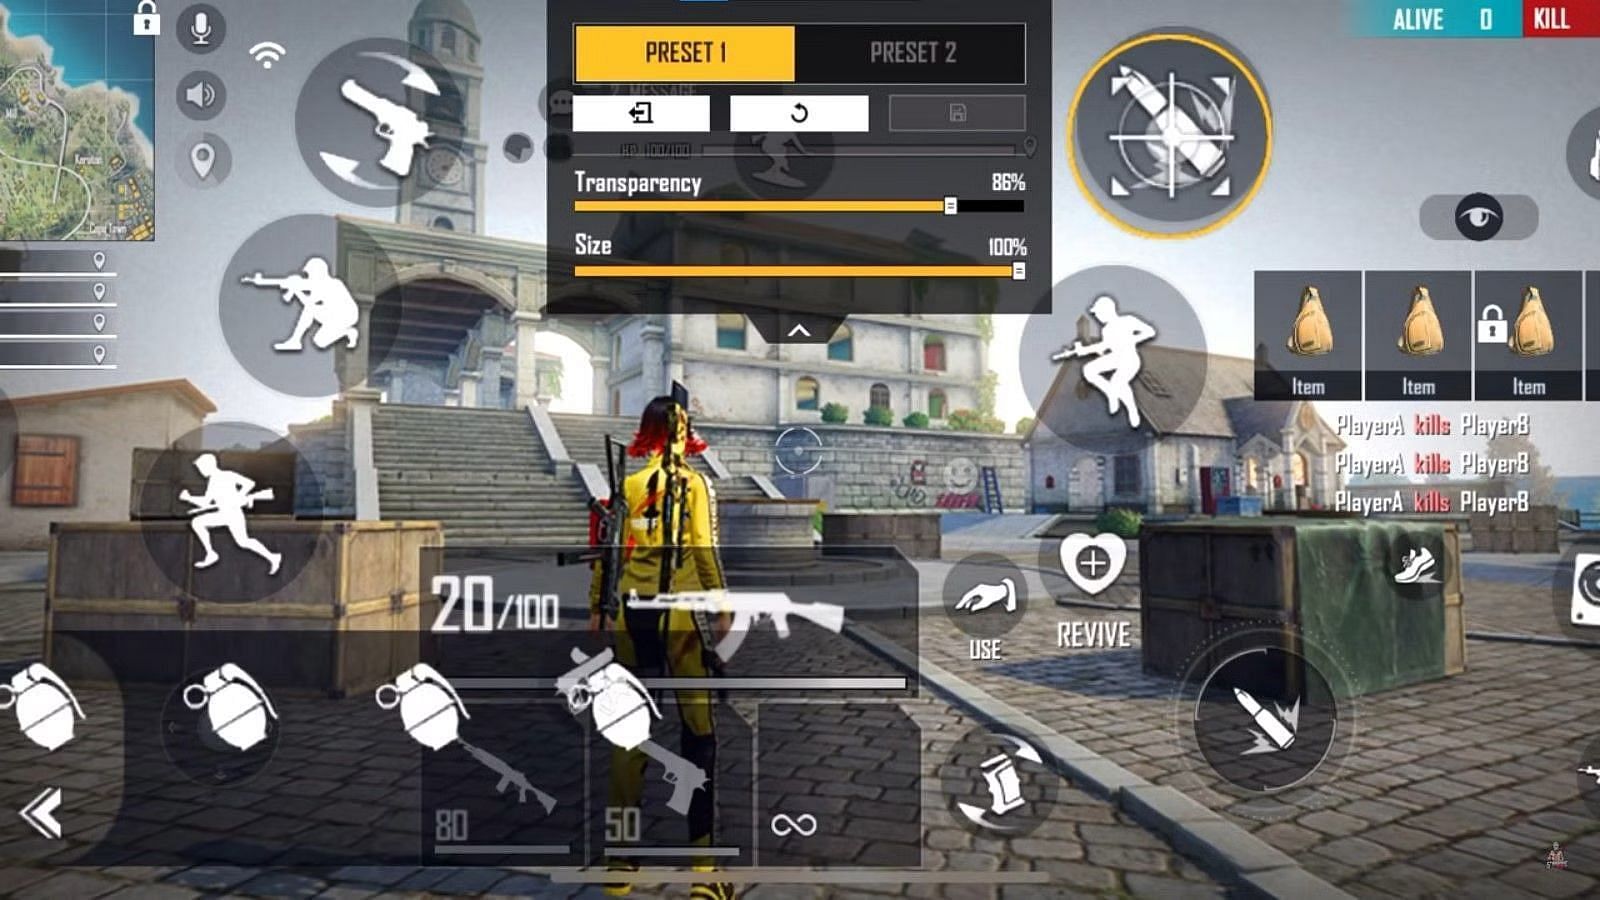
3) Four-finger custom HUD
For those using a four-finger control scheme, the primary focus should be on the Fire and Jump buttons on the right side, which should be operated using the right-hand thumb and forefinger, respectively.
Other important options, such as the Sprint button, left Fire button, and Crouch button, should be controlled using the left-hand thumb and forefinger.

Using a four-finger control scheme can be quite challenging, but if mastered, it can greatly enhance players’ movement speed and reflexes. This claw method allows for more precise and efficient movement, giving players an edge in battle.
It may take some time to adjust to this style of play, but the benefits are well worth the effort. With proper practice and customization of the HUD, players can master the four-finger control scheme and dominate the battlefield.
Whether a beginner or a seasoned player, these custom HUDs will enhance your gameplay and take your Free Fire experience to the next level. With easy installation and setup, you can have your new custom HUD up and running in no time.


![Best Weight Loss Supplements [2022-23] New Reports!](https://technologytangle.com/wp-content/uploads/2022/12/p1-1170962-1670840878.png)


