

5 min read
Tech
December 15, 2025
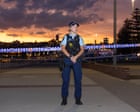
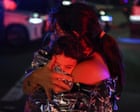
Holocaust survivor, London-born rabbi and 10-year-old girl among victims of Bondi beach terror attack
At least 16 people including one of the alleged gunmen died at the shooting in Sydney on Sunday, aged between 10 and 87